Midweek Motivation: Seek The Hard

I wanted to get this post out for Monday as in “Motivational Monday”, but instead I’ll steal from Kovas at Midwest Multisport Life and do “Midweek Motivation”.


I was riding along during the bike leg of the Muskoka 5150.  I was somewhere around the halfway mark and had some of those nasty hills behind me, and I found myself cruising along and thinking to myself: ”This is nice…”


Then it hit me.  I found it “nice”, because it was easy (there might have been a slight decline) and this was a race, I shouldn’t find it easy, and I couldn’t afford to savour it or draw this out.  The easy, downhill or even flat parts should be over as quickly as possible, and I needed to get to the next uphill climb – I needed to Seek The Hard (part).


On that day, I tried to blast through the easy parts and get to where I was really working; on that course, in that weather, it wasn’t hard to find.


Seeking the hard in training is just as important – that’s how you get the most out of the time spent, and make yourself ready for any hard parts you face in training.


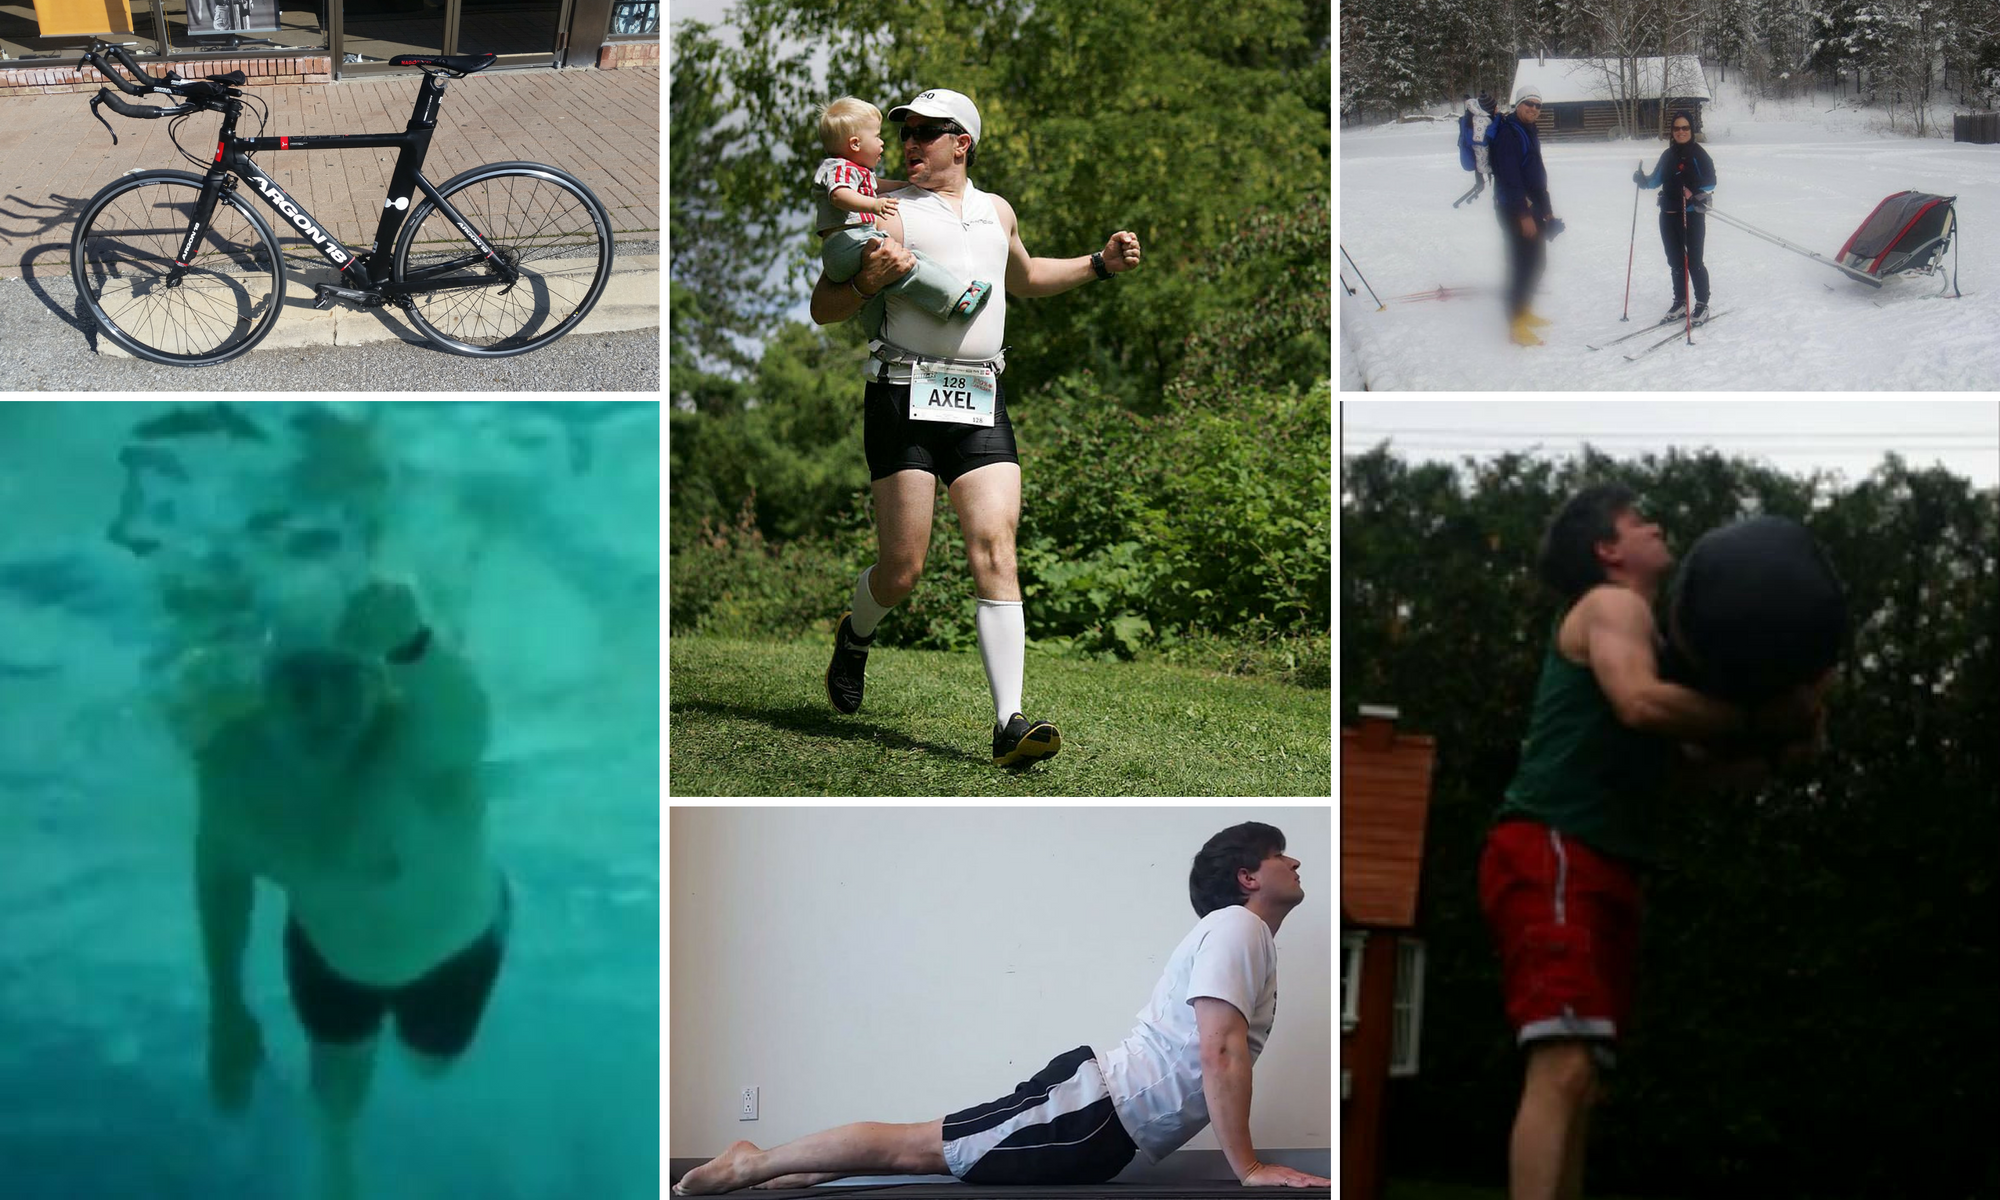
This last week, I sought the hard in my training.

On Sunday, I tried this WOD from AllAroundJoe, which combines swim intervals, burpees and sit-ups.


I completed the 5 rounds of 200m swim, 10 burpees, 10 sit-ups in 25 minutes flat, then did the 800m swim (after stopping to put on my wet-suit... doing burpees in a wet-suit on a hot summer day isn’t ‘hard’… it’s stupid… important to know the difference).


On Tuesday, I did a modified bike #WorkoutHack with less hill repeats due to the crazy heat and humidity. Check this out:


On Wednesday I tried our corporate gym’s ‘Tabata’ class. A warm-up, then 6 different Tabatas (most involved altenating whole body exercises on the 20 second work intervals). It was… intense, to say the least.

Friday was another hot day, and my weapon of choice was a Burbathlon. I’m hoping training in the heat gets my body acclimatized to it should the weather be as punishing on race day. I used this article to shape the kinds of strength work I’m trying to build into my Burbathlon workouts.


Fitness bloggers love to discuss what their mantra is; what do they repeat to themselves to keep digging deep and find the strength to keep going when they simply don’t want to anymore? Seek The Hard… I may have found mine.

What’s Yours?

How To Put On A Wetsuit

I’ve had two wet-suits  and they are both with sleeves.  Though I won the second one (which I still use), I still advocate sleeved wet-suits over sleeveless (Farmer John types).  I guess if you’re going to need a wet-suit  you might as well get full buoyancy and insulation; I’d hate to go through the bother and expense and still be sitting in the water thinking: “My arms are cold.” 

I’m sure the argument for more arm freedom can be made; all I’m saying is that this advice is intended for wet-suits with sleeves (though I bet a lot of it can still apply).

N.B. Always handle your wet-suit with short, trimmed fingernails.  Piercing and scratching the outer layer of the wet-suit will hamper its effectiveness in the water and ultimately limit its useful lifespan.

The basic guiding principle is that higher is better.  As you’re pulling the suit up your legs, keep hiking it higher.  If the bottom cuffs end up too high on your mid-shin, you’ll still have an easier time getting them back down again once you have enough slack left for you shoulders.
Grab a bunch of your wet-suit and keep pulling it upward.  

Hike it up!


Keep doing this as you get the suit on past your waist, right up your upper body.  You’re moving any slack in the suit right up to your shoulders – that’s where you’ll need it.  When you maximize the slack around your shoulders, you guarantee maximum mobility for when you’re doing your freestyle stroke.

Higher still!


I confess it takes patience to get things just right; if you have a friend/loved one/tri-groupie to help you, it can make it a lot easier.


Once you’ve got the suit all the way up, use the little tether (hopefully no-one has cut it off while trying to be helpful – long story), to pull the zipper closed.  You may have to lie some flaps down to get the thing zipped; this is another part where being patient and getting it just right can save you chafing and frustration during the swim.  We all want to be our best in open water and if you’re calm and comfortable it’s one less worry during the swim.

I usually put some Body Glide on my neck just in case, though!
Any other wet-suit tips you might know of?

New Page: Race Day Checklist

A while back, I wrote up my own race day checklist so that I wouldn’t forget anything on race day; though packing it all the night before is advisable.  I found it easiest to organize by event, so that I could visualize what I was doing and what I’d need.  

The list in its original form is available on the page accessible from the tabs above, or you can click here: Race Day Checklist.  It’s not up-to-date for me since I now wear my Garmin in the water, and sometimes I race without socks, but it should be a good starting resource.  I’ve left a few blank lines that you could fill in your own special needs for, and there’s the possibility of downloading a PDF for prettier printing (link at the bottom of the page).


Have a great race!

Bike Racks

The biggest piece of gear/pain in the butt in triathlon is the bike, which not only costs a lot of money, but is the hardest to get to the race site (or even some of your training rides).  Whether you take the wheels off and stuff it into the back of your car, or you have some kind of rack option, you are in for some lifting and possibly forcing.


I have a bike rack on my roof; many people favour trailer racks because they involve less awkward lifting, and I get that.  I feel that I’m strong enough to lift my bikes (especially my racing bike which is light, my commuter/hybrid is harder), the roof rack gets re-purposed in the winter for skiing, and I like having easier access to my trunk – I drive a crossover/hatchback and I’m constantly having to pull stuff out or put stuff in.

At any rate, Mike from BikeRackShops.com sent me this InfoGraphic, and it may be of use to anyone looking for bike transportation solutions.


guide to buying the perfect car bike rack

How I Set Up My Transition Area

The art of transition is a personal one.  There’s plenty of room for disagreement on which way to rack the bike (hooked by the saddle, or hooked by the brake-hoods), and so telling you the correct way to set up everything else is pointless, but I can illustrate the way I do it, and why, and hopefully it can help some beginners or even give new ideas to more experienced triathletes.


I have a triathlon transition bag to carry/store all my stuff, and it has a built in mat that folds out.  Any old towel or bath mat, yoga mat would do the trick though.


  1. Bike Shoes (with socks in this case).  These are in front of my running shoes since I’ll be putting them on for biking before running.  I run my bike across the transition area with my bike shoes so that I don’t get any debris on my feet once I’ve picked up the bike.  I haven’t mastered putting on my shoes while they’re clipped into my pedals – safety first.
  2. Running Shoes.  After I get back from the bike they’re right there waiting for me.
  1. Bike Helmet and Sunglasses.  I put my bike helmet on top of my bike so that I can’t take the bike off the rack without picking up my helmet; that’s to remind me to put it on (and attach the chin strap) before even touching the bike.  That way I always avoid penalties and disqualifications.  I put my sunglasses inside the helmet for similar reasons; I’ll be forced to put on the sunglasses before the helmet and that way I don’t forget them.
  2. Water bottle – this is filled with ice and has been frozen or cooled as much as possible beforehand.  I put it in the cage as part of my transition set-up, and then it’s with me on the bike.
  3. Race belt.  I could do a whole post on why a race belt is a good investment; mine lets me clip my bib to it without having to mess around with safety pins (thus saving my shirts from extra pinholes).  You’re supposed to have the bib on the back for the bike (it’s more visible to race marshals, and more aerodynamic besides) and on the front for the run – I simply turn the belt around when I’m in T2.  The race belt pouches also store a gel or two, while I keep the rest in the pockets of my tri-top.


That’s how I did it in the Muskoka 5150, and the general layout has been the same for every triathlon I’ve done.  

Do you have any transition set-up guidelines you use?

Bike #WorkoutHack – Hill Repeats and Strength Work (video!)

I keep trying to find ways to do it all triathlon fitness-wise: swim, bike, run | speed, tempo, endurance | strength, flexibility.  My first attempt at multi-tasking my workouts was Burbathlon.  
Then I came up with the Swim + Pushups workout.


And now my latest masterpiece madness creation… A WorkoutHack for Bike – doing Hill Repeats and Strength work with the bike.  The premise is pretty simple, you use the bike as a weight to do strength exercises at the top of the hill after every climb.  Now, the reps I show reflect not only my own strength and fitness level, but the weight of the bike.  A commuter/hybrid or mountain bike is good for this (maybe with even fewer reps for bikes with suspension systems), but light road/racing bikes would require more reps.  Adjust as needed.


Note: I am not a certified fitness profesional and all exercises should be performed at your own risk.  Please consult a physician before undertaking a new fitness/exercise program.

Will Tri for Beer

There are two kinds of athlete: those that fuel themselves with nothing but the best nature and/or science can offer in the quest of squeezing better performance out of the machines that are their bodies… and there are the “Will Run For Beer” types.  Count me in the latter category, only I guess it’s “Will Tri For Beer (or cookies, ice cream, chicken wings, burgers…)”.


I’ve always wanted to participate in one of the “Drink-Up Link-Ups” organized by Janine from The Purple Giraffe, and my recent trip to Germany gave me an opportunity to do a roundup of my my favourite beers that I drank over there.


How can I do a post about German beer on the 4th of July?  Well, did you know that if it weren’t for a single vote, German would be the official language of the United States?  If you didn’t, good for you, because it’s bunk.  I can’t actually rationalize it too well.  Anyway…

I’m far from a connoisseur of beer, and I seem to be out of touch with the rage over hoppy beers (notably all the India Pale Ales) out there.  I guess my German heritage makes me like beers that hew closer to the Reinheitsgebot (Purity Law – only ingredients can be water, barley, hops [and yeast]) and that typically means lagers (in my experience and largely uninformed opinion).  I jump at the chance to drink a nice Pilsener, and warmer temperatures (which were rare on my trip) give me cravings for Wheat Beers.


Wheat beers come in 3 varieties: Weiss (white), Dunkel (dark) and Kristall (Crystal/Clear).  The Kristall is filtered and you can see through it – it has the cleanest taste.  The white is lighter and fresher tasting than the dark, but they’re both refreshing thirst quenchers and the dark isn’t that similar in taste to dark beers or stouts.


My favourite wheat beers:


  • Schoefferhofer – I had more of this in Berlin
  • Maisel’s – I had all 3 varieties of this one, it’s my brother’s favourite.


My favourite Pilsener
  • Schultheiss – this was my go-to beer while eating out around Berlin.  A simple, straightforward Pils.
I have a note that I drank ‘Kronenberger’ but the only thing on the web seems to be Kronenbourg 1664, which I have tried, and is decent, but I refuse to further discuss a French beer in a post about German ones.


Special mention for the Jever Alcohol-Free beer; we got this by accident but I didn’t hate it, and I found myself willingly drinking it if I thought I was still going to try to fit a workout in that day; that way I didn’t get lazy/sleepy from any beer buzz.

But this isn’t a food/drink blog, so I need another rationale to link up with the Purple Giraffe, and I have a good one.  Janine also organizes a Virtual #RunForMemory to find a cure for Alzheimer’s Disease. Virtual Runs are fun ways that we can participate in a cause with online friends no matter where in the world they are. I try to pick some official event that can double its purpose; last time I wanted it to be a Snowshoe race for the Kyle’s Krusade, and though the snowshoe part didn’t work out then, I still wanted this to have a little something extra to make it challenging and meaningful.

Well, our work run club was staging a race in some of the most hot and humid weather we’ve seen this year, and this was a mere 3 days after my Muskoka 5150 Olympic Triathlon experience.

Check out that temperature and humidity. The words I used to describe it to my wife were “Death March”. And yet it was worth it. I donated to the Alzheimer’s Research cause and you can too (just use the Donate button on the Purple Giraffe site).

We are on the cusp of having unprecedented longevity thanks to better scientific understanding of our bodies and better healthy living practices… yet it’s a terrifying idea that our minds could get left behind. Read the Alzheimer’s facts on Janine’s site.

I confess I have an ulterior motive; I want the Lightning Kid to grow old and live as independently as possible when my wife and I are long gone. People with Down syndrome are prone to dementia as they age, and there is considerable overlap in Alzheimer’s research that could apply to those individuals too.

I confess I have a second ulterior motive… a free Beer Koozy for participating. See how I brought it back to beer? That’s Synergy people!

Please consider participating in the #RunForMemory and/or donating to #EndAlz.

  • Register and Run 5k or 10k
  • Donate
  • Spread the Word using the #RunForMemory and #EndAlz hashtags.
The link for the site one more time is The Purple Giraffe.

What cause(s)/reward(s) do you run for?